


Choosing a bed is a simple process
But, thanks to all the talk surrounding M1 crash test approval, fitting one is a job people seem reluctant to tackle at home, preferring to leave it to suppliers or experienced mechanical hands. So we thought we’d show you just some experienced hands doing the job so you can make a qualified decision as to whether to undertake the job yourself at home.
First things first. We’d say it’s impossible to do this job on your own. Two people is a necessity, three makes it easier at some points in the process.
Whether the bed you fit is M1 tested or not, the trick to sound seat/bed installation is spreading the load of the mounting points over the largest possible area under the floor.
Just so you know
We’d already sound deadened and battened our new ply floor and there was no we were taking all that out. Talking of the floor, it is important to note your floor needs to be either bonded or screwed into place before attempting this job, especially if you are using a two-piece floor like us. If it’s not, you run the risk of having an uneven floor when you tighten the 17mm bolts down.
Finally, it’s worth pointing out that beds from different manufacturers will likely be slightly different to the Rusty Lee version, but this guide should at least point you in the right direction.
Job Information
Tools needed
- Socket set
- Ratchet spanners
- Drill and 4-10mm drill bits
- Long-nose pliers
- Pliers
- Torx sockets
- Tape measure
- Set square
- Spirit level
- A freind
Pro Tip
- Get on eBay and grab 10 or 20 plastic undertray and heat shield fixings (p/no. 907 965 01) before you start this job as they are almost always corroded and some, if not all, will need replacing.
Time Taken
- 4 hours with ramp
- 8 hours without ramp
Step 01
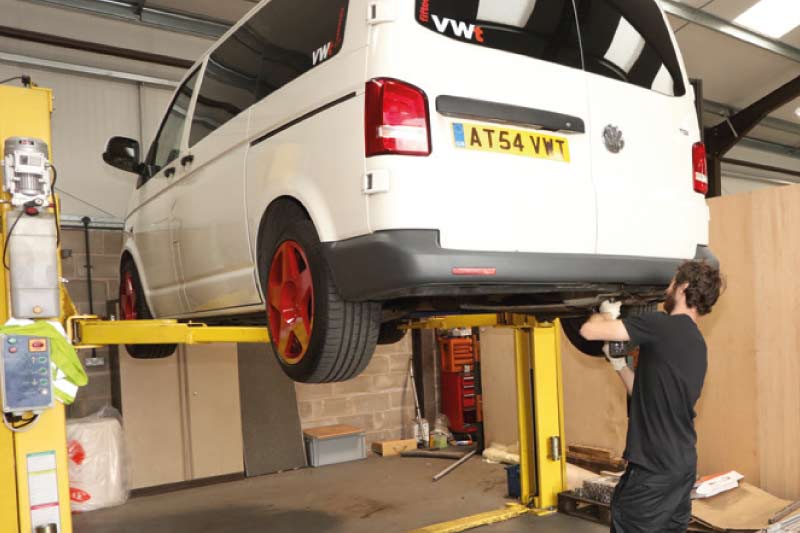
Jack up your Van and secure it on axle stands or, if you have access to one, put it up on a ramp to save your arms, shoulders, back and sanity.
Step 02
You need to remove your rear bumper so start by popping off the top trim pieces inside the doors, removing the plastic screw-in trim clips with an Allen key (two up top, three beneath the Van).

Step 03
Then undo the T20 / T25 Torx screws (two visible in the back ’arches / two underneath the ’arch liners).
Step 04
If your Van has one, remove the spare wheel and the hanger that secures it.
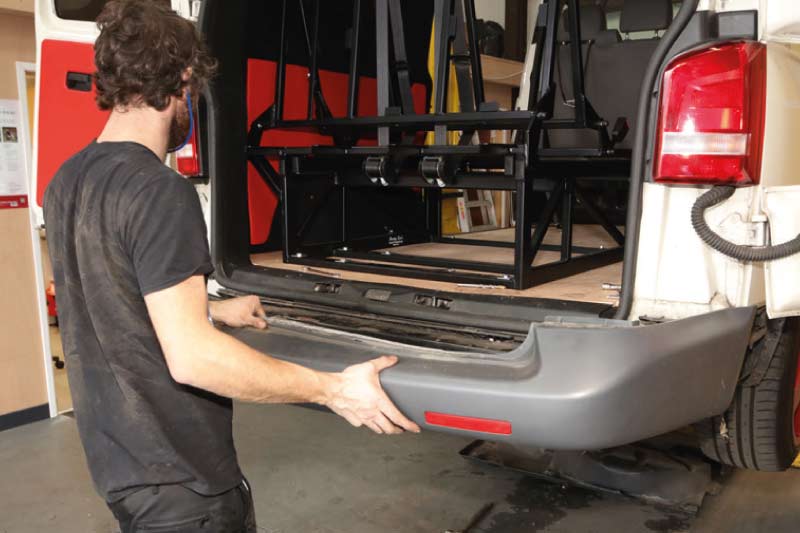
Step 05
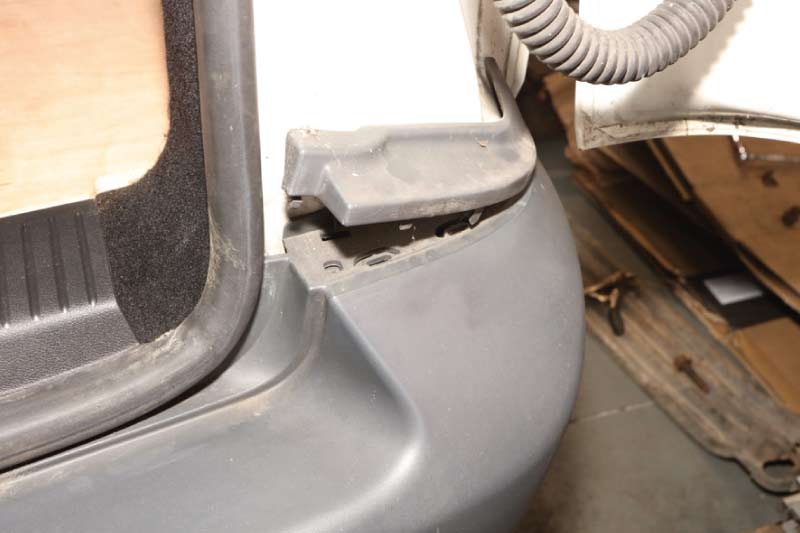
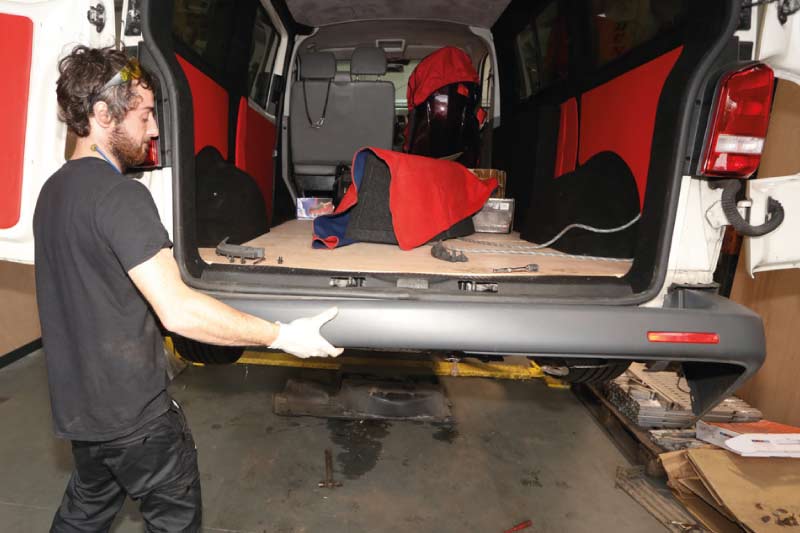
Then withdraw the bumper from its mounts. It might need a sharp tug backwards to achieve this.
Step 06
Next, remove the metal crash bar by undoing the pair of 13mm bolts that secure it each side. Note our crash bar had obviously suffered a smack at some point, so we took this opportunity to straighten it out so the bumper will sit level again.
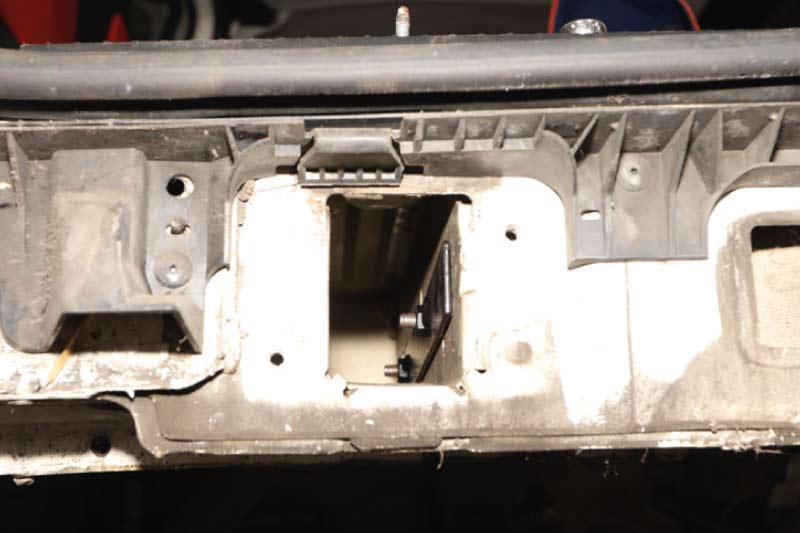
Step 07
Insert the captive nut plates that slide into the chassis rails. If your Van has a tow bar attachment in here, you can still use the Rusty Lee fitting kit, just without these plates.
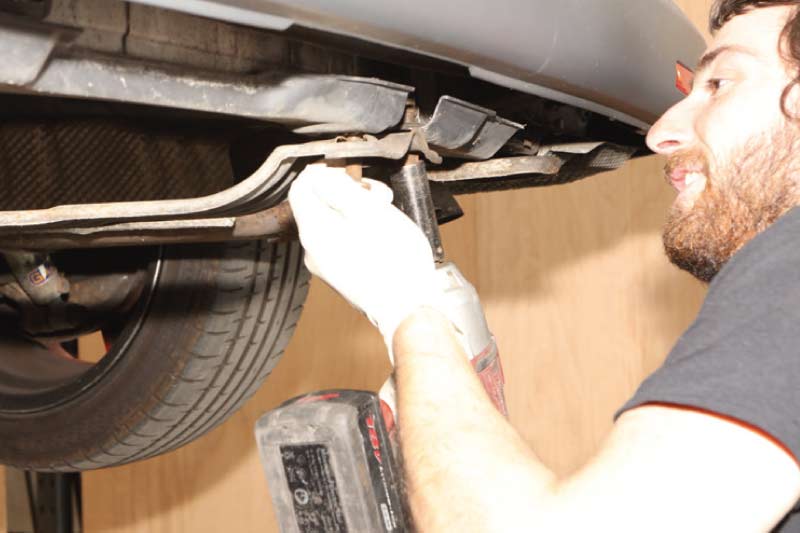
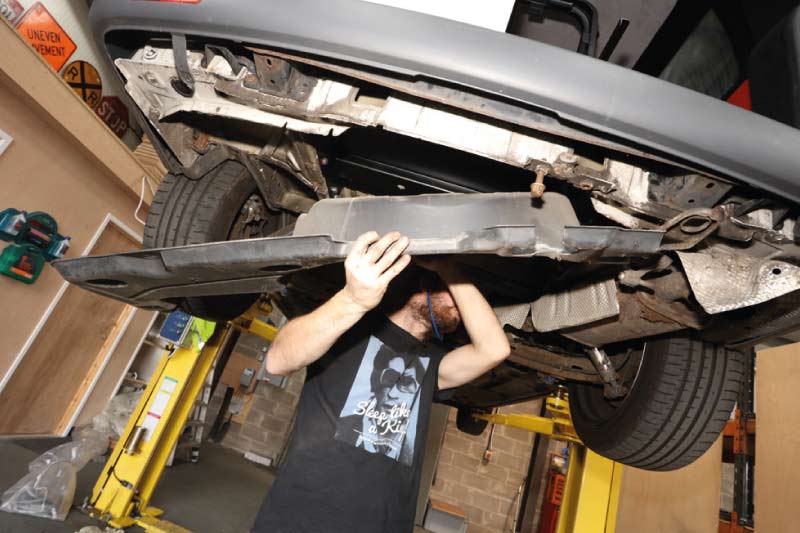
Step 08
Now head under the Van. You need to remove any heat shields or plastic under-body covers that prevent access to the floor. There are a variety of 10mm and 13mm bolts securing these, as well as those pesky, rusty trim clips we mentioned in the intro. Pliers and screwdrivers are your friends here.
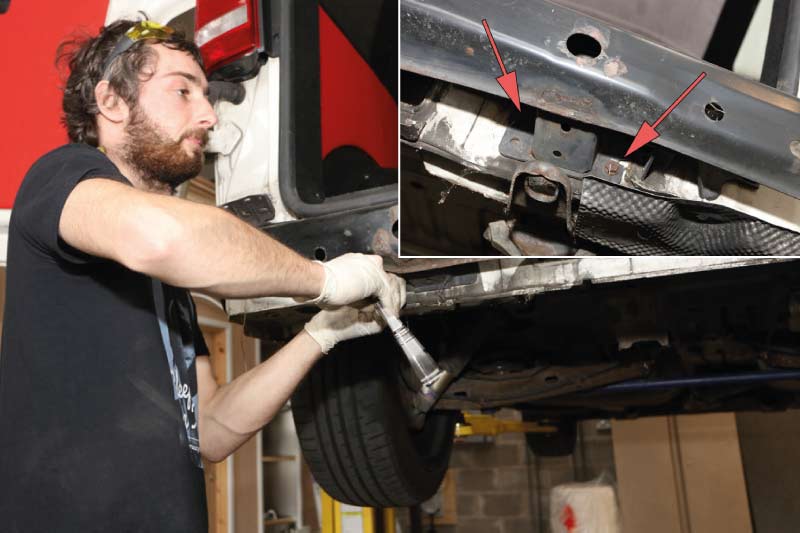
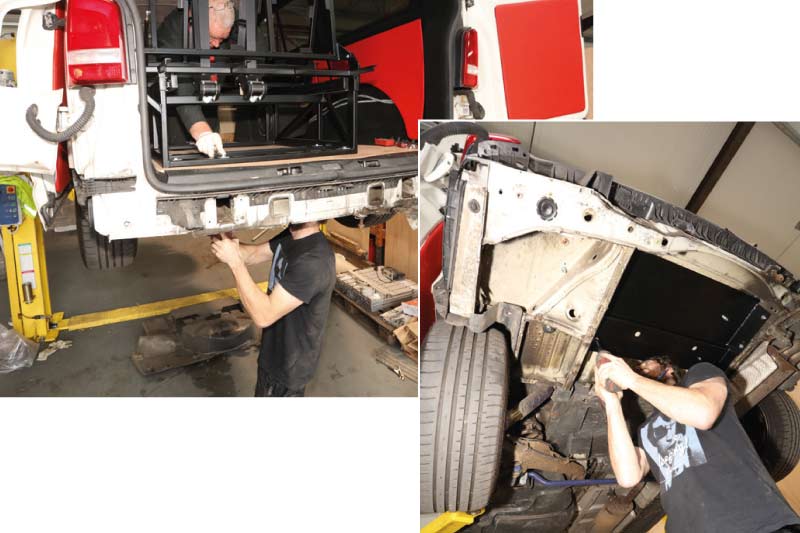
Step 09
With the floor exposed, offer up the fitting bracket and have a friend hold the captive plate firm within the chassis rails as you wind the bolts home from outside in. This powder coated bracket is the key to M1 in-Van approval and provides loads of extra strength to this part of the floor. Use a dab of copper slip on the bolts and ensure they have really gripped in the captive nuts before you let go of the bracket. Do the same on the other side.
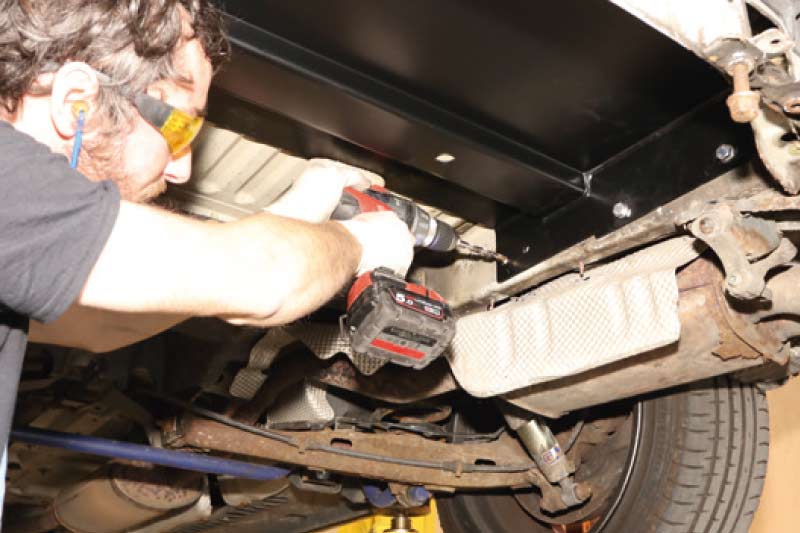
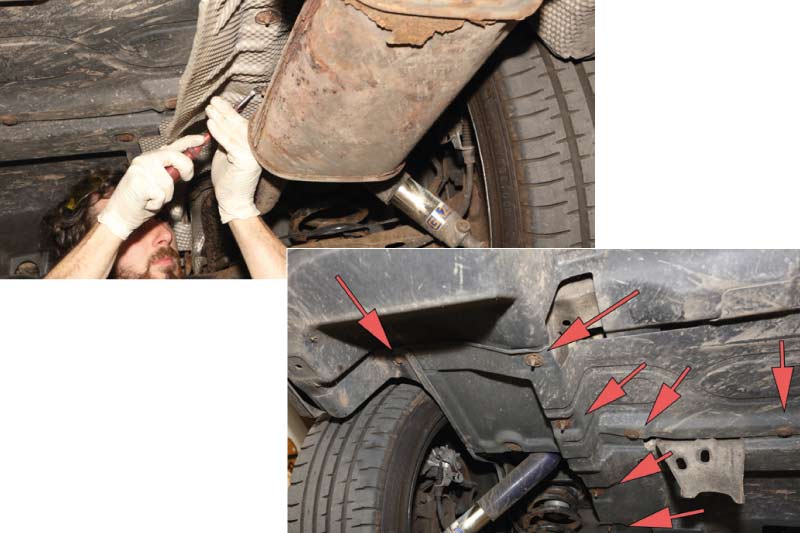
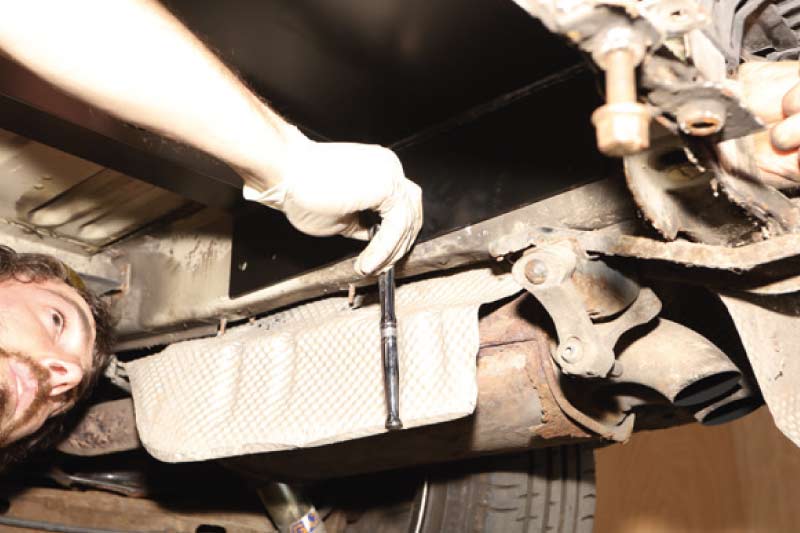
Step 10
Using the fitted bracket as a guide, drill four new 8mm holes in the chassis leg. Use new, or at least sharp, drill bits and start with a small pilot hole then work up. You might have to remove the offside exhaust heat shield, or loosen the rear exhaust hanger, in order get a nut on the back of the chassis rail. Tighten the four high tensile (8.8) stainless bolts supplied in the fitting kit each side. When you’re done, you should have eight solid fixings in the chassis rails.
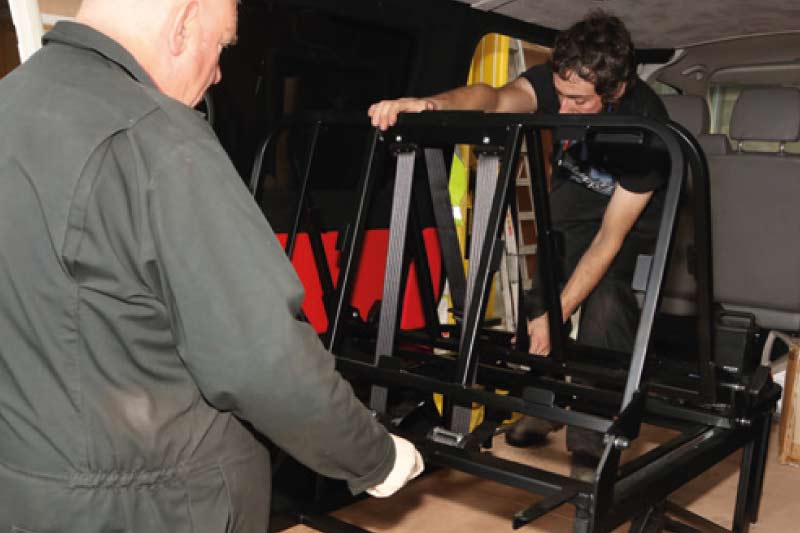
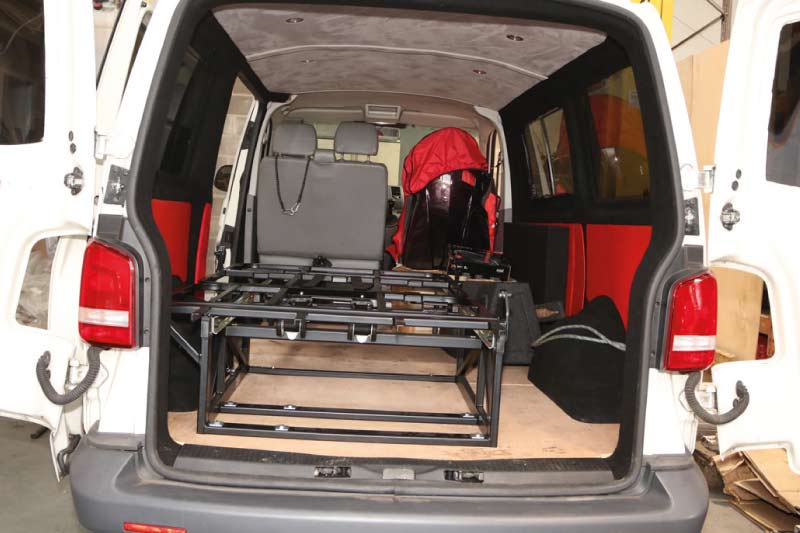
Step 11
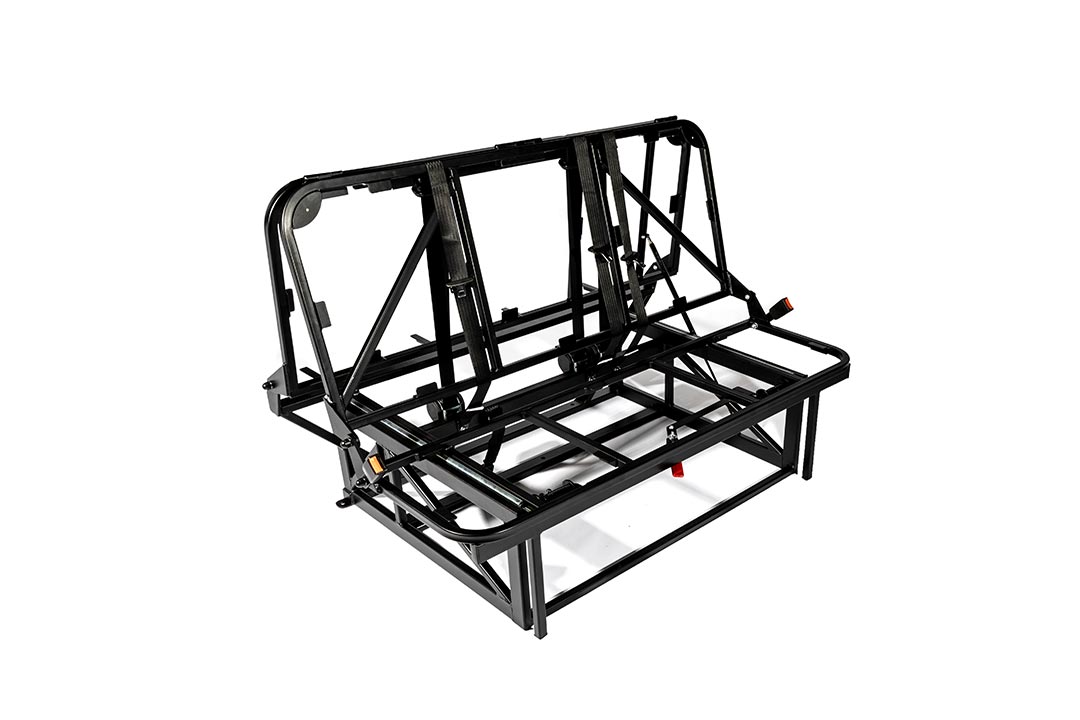
With the help of a mate, wrestle the seat frame into the back of your Van. At 76kg, the Rusty Lee bed is no lightweight, but it’s well made and exceptionally strong. It’s worth considering the extra weight added with these beds if you’re already running really low.
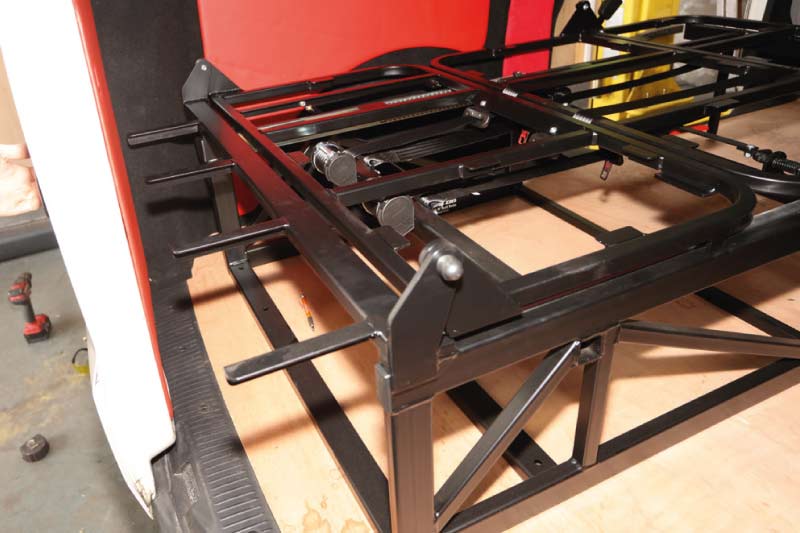
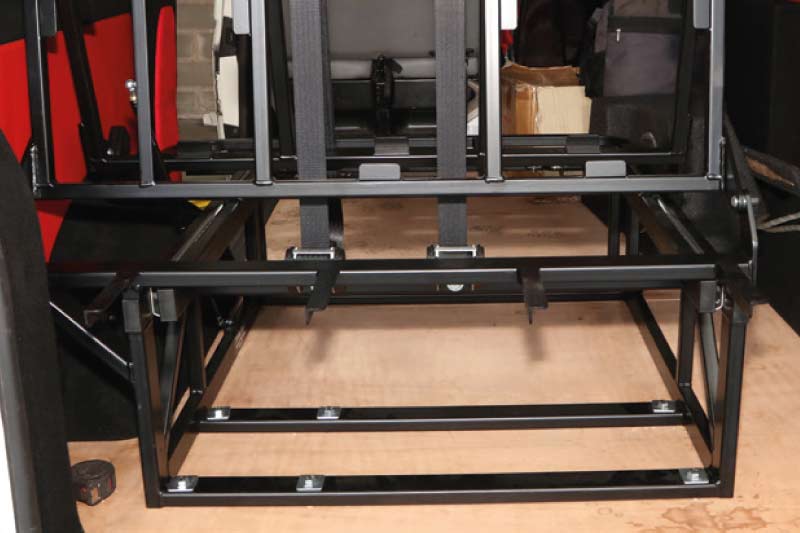
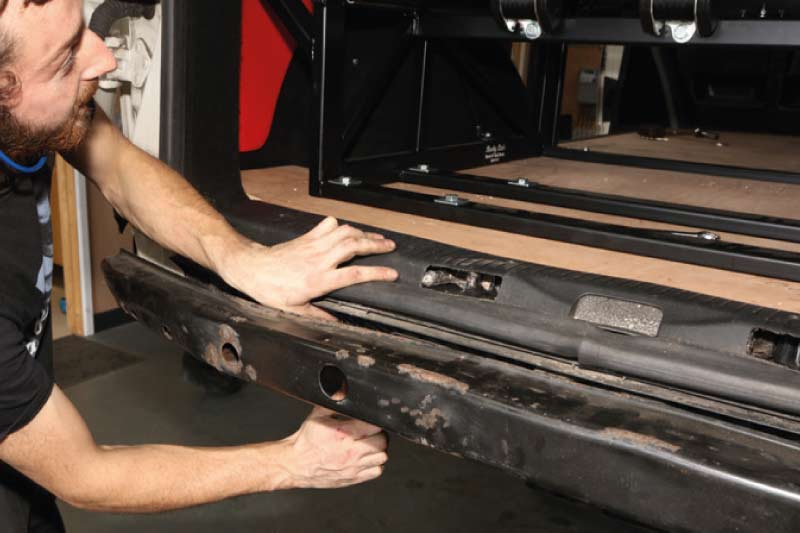
Step 12
Measure 260mm in from the rear step cover and position the lower back stay of the seat accordingly. Have a friend hold the seat in position and try to extend it fully into a bed, ensuring it clears both side panels freely. If you’ve used 6mm ply panels or backing foam, your trim could protrude further out so it’s worth checking now. Our frame was positioned 50mm square from the wheelarch to clear a crossmember beneath.
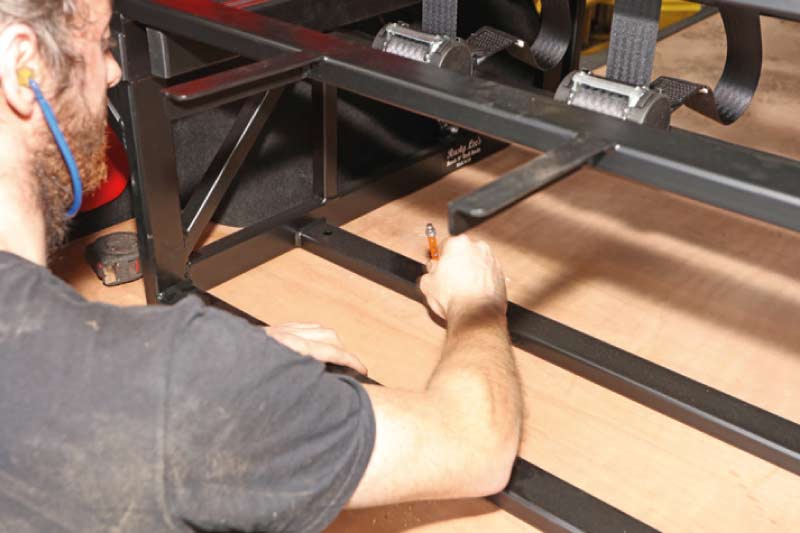
Step 13
Once you’re happy the frame is in the right place, mark the fixing points on the floor using the pre-drilled holes in the bed frame. There are six in total.
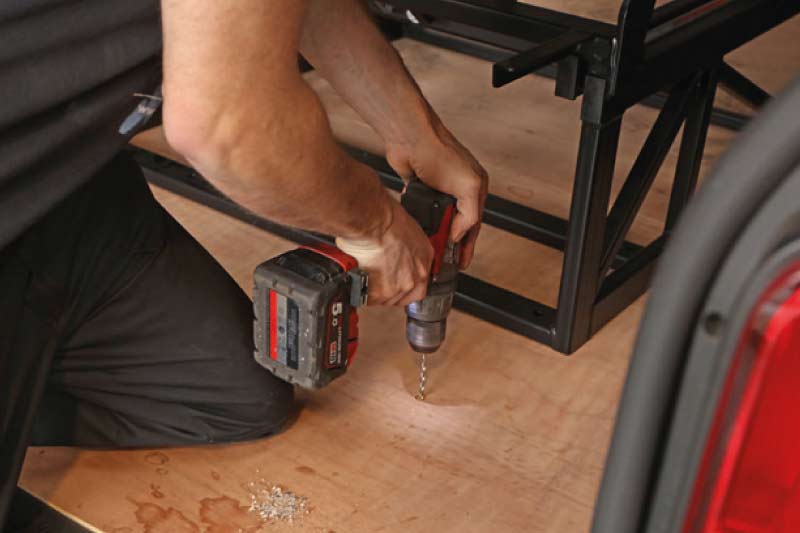
Step 14
Drill a pilot hole with a small drill bit, ensuring all of
the holes go through the floor and through the chassis plate below without hitting anything underneath. Assuming they do, open the holes out to 8mm for all six fixings.
Step 15
Align the bed over the holes and drop all six M10 bolts through using the supplied spreader plates on top.
Step 16
Get your mate back in the Van armed with a 17mm spanner to hold the bolts, and then wind the Nylocs from the fitting kit on tight from beneath the Van.

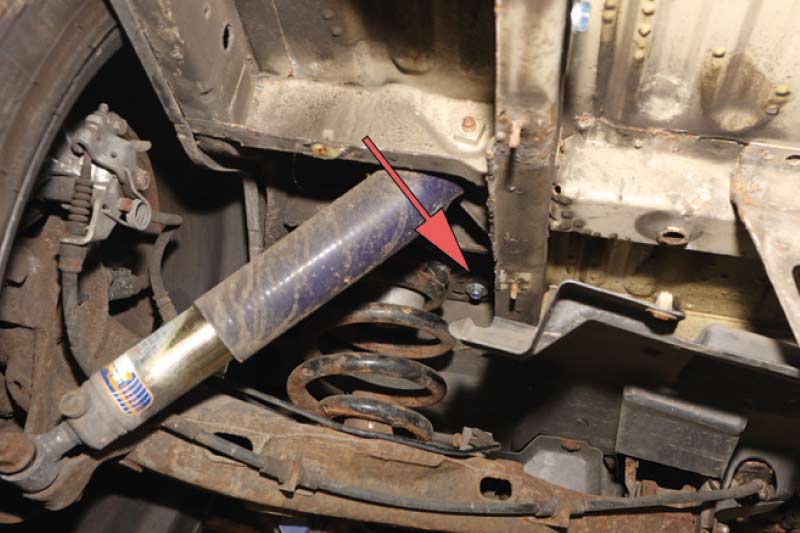
Step 17
For added piece of mind, and to ensure the bed sat perfectly level, two further holes were drilled through the front rail of the bed. The one closest to the wheelarch fell 170mm from the ’arch, in a double-skinned section just between the spring and chassis rail underneath, so you may have to drill at a slight angle here. Measure twice and drill once.
Step 18
The other fixing was located 130mm from the outside of the bed frame. Be sure to use washers both top and bottom on these additional fixings.
Step 19
Job done. Now it’s reassembly time. Start by replacing your crash bar.
Step 20
Then slide your rear bumper back on, ensuring the pegs line up with the front mounts in the ’arch liners. Replace all of the Torx screws you took out earlier.
Step 21
Pop the plastic undertrays back into place and secure with all of the 10mm bolts and new lock washers throughout. Don’t forget to replace your spare wheel and hanger as well.
Step 22
We would say fold the bed out and award yourself a well-deserved lie down, but we’ll have to save that particular pleasure for when our bed boards come back from the trimmers with their swanky new trim. Then try and stop us going camping! We can also now fit our matching Recaro passenger seat and safely carry a couple of people out back. A win win situation we think you’ll agree.